OpenClaw (Clawdbot) is a lightweight, self-hosted AI assistant designed to automate routine tasks through simple command-line interactions. Think of it as a personal bot you can customize for notifications, system checks, or basic automation scripts without depending on external APIs or complex setups. It’s built with minimal dependencies, requires no database by default, and starts working with just a small configuration file.

Installation doesn’t demand advanced skills — just a VPS server with Node.js and basic terminal knowledge. The next section shows exactly how to get it up and running.
How to Set Up OpenClaw (Clawdbot): Step-by-Step Guide 2026
Thanks to updated Node.js compatibility and clearer config defaults, you can go from zero to a working AI assistant in under ten minutes. This guide walks you through each step — no guesswork, no outdated dependencies. Just clone, configure, and run. You’ll have a private, responsive bot handling tasks on your terms, not a third party’s. Keep your terminal ready; we start with the basics and move forward one command at a time.
1. Get a VPS server
To run OpenClaw (Clawdbot) reliably, you’ll need a dedicated virtual environment — and that starts with a VPS server. You can order one at VPS.one. During checkout, pick any plan that fits your expected workload — OpenClaw (Clawdbot) runs smoothly even on entry-level resources.
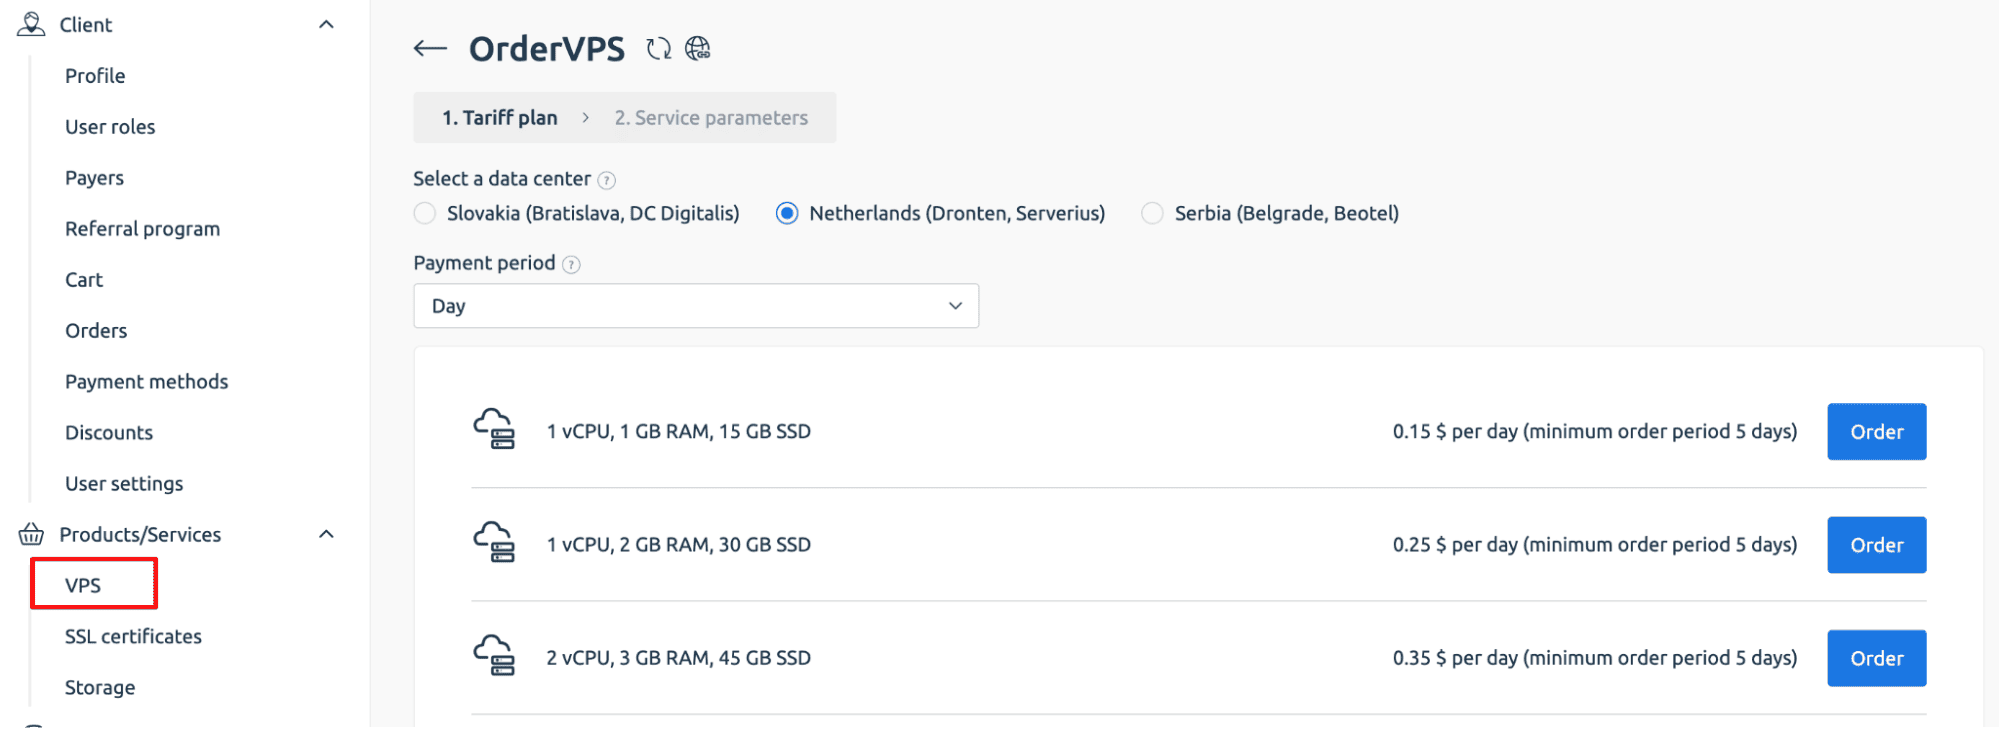
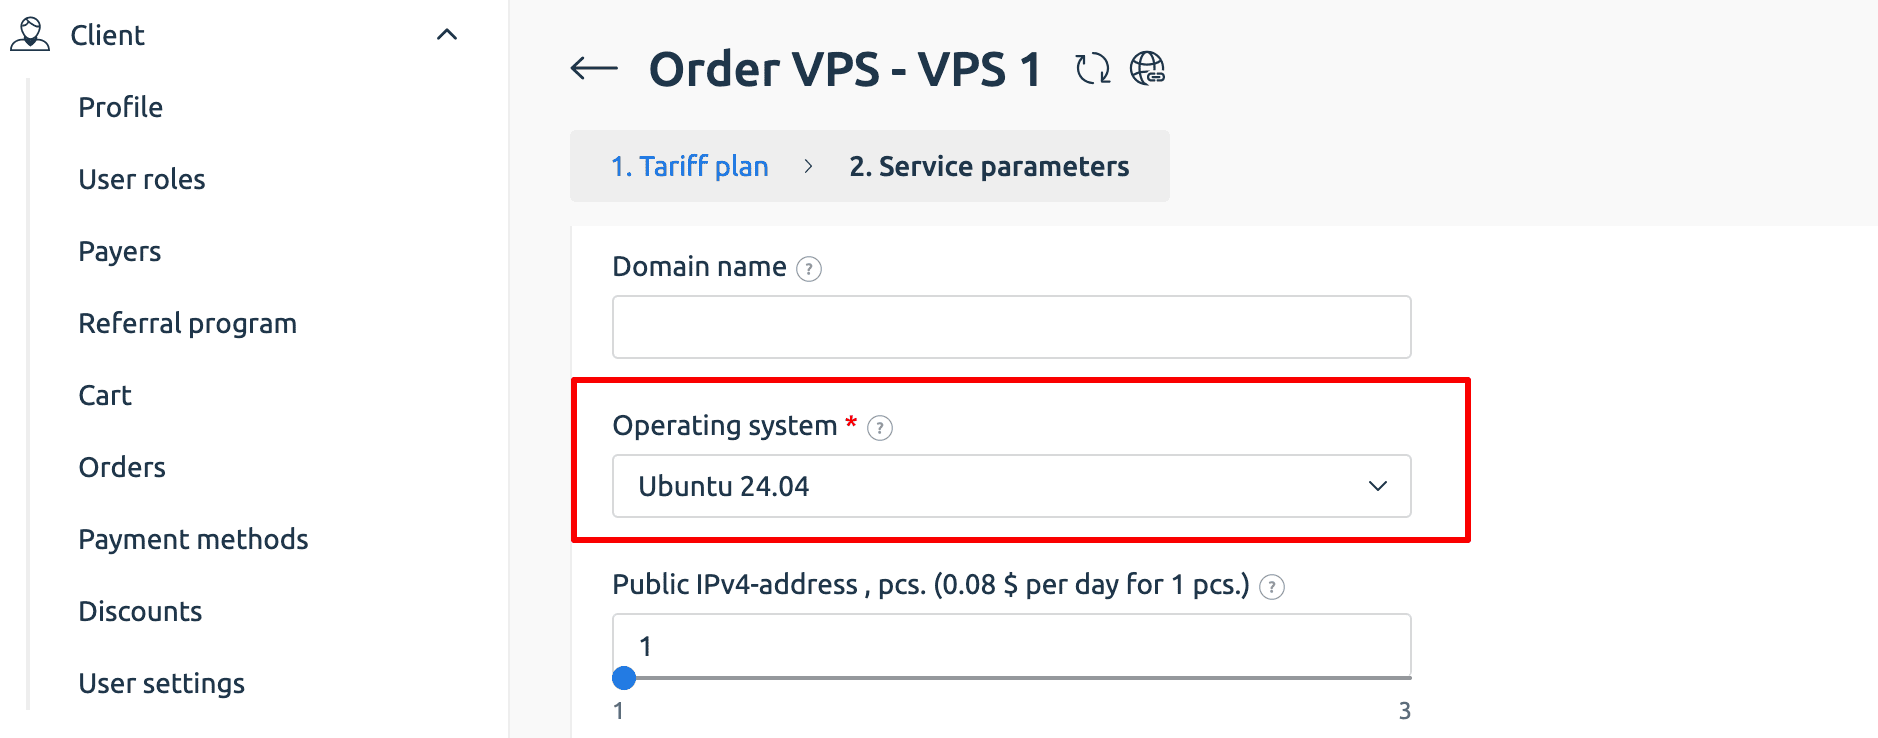
Сhoose Ubuntu 22.04 (or newer) as your operating system; it ensures compatibility with current Node.js versions and simplifies dependency management.
After payment, your server activates in just a few minutes. You’ll receive an email with your login credentials: IP address, root username, and temporary password. These same details appear in your VPS.one billing dashboard under “Instructions.” Keep them handy — you’ll use them in the next step to connect via SSH and begin setup.
2. Install OpenClaw (Clawdbot)
Once your VPS is active, connect to it using a terminal on your local machine. Open your command line and log in as root using the IP address:
Replace ip-address with the actual address you received. You’ll be prompted for the password; enter it carefully (note: characters won’t show as you type).
After logging in, you’re ready to install OpenClaw (Clawdbot). The developers provide a secure, one-line installer that handles all dependencies automatically. Just run this command exactly as shown:
3: Run The Wizard
Right after installation, OpenClaw (Clawdbot) launches its setup wizard automatically. You’ll see a clean menu in your terminal — use the arrow keys to navigate. Choose “quick start” to skip advanced options and get running fast.
Next, select “anthropic” as your AI provider. The wizard will prompt you to set up authentication. Pick “token paste setup” — this method lets you securely input your API key without storing it in config files prematurely.
At this point, the wizard pauses and asks you to generate a token. Open a new terminal window on your local machine and run:
Then execute:
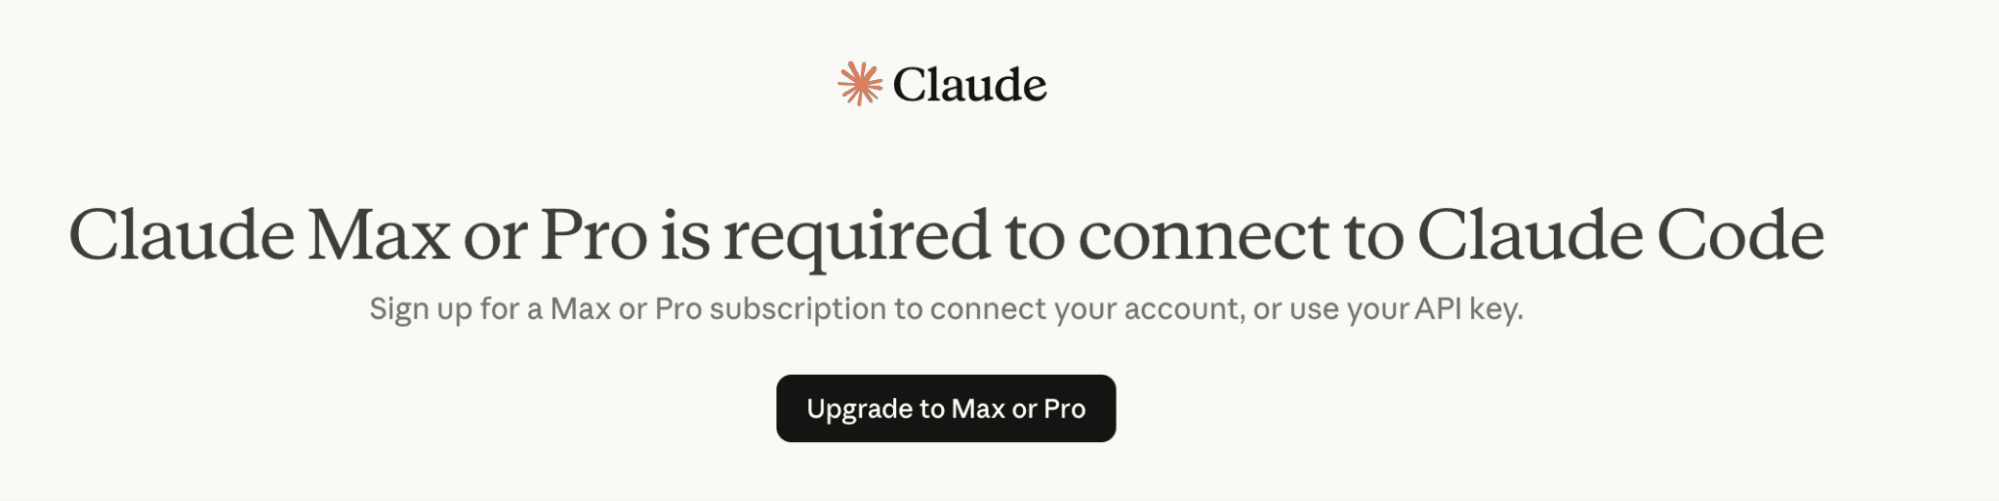
This command opens Anthropic’s portal in your browser. Note: you’ll need an active Pro or Max subscription to create an API key — free accounts don’t have access.
Back in the wizard, paste your token when prompted. Then choose “opus 4.5” as your model — it offers the best balance of speed and reasoning for most tasks. Finally, select “telegram bot” as your communication channel. The wizard saves these choices and prepares your instance for final configuration.
4: Create Your Bot
Now it’s time to create your Telegram bot — the secure channel through which you’ll interact with your AI assistant. Open the Telegram app and search for @botfather, Telegram’s official bot management tool. Start a chat and send the command /newbot. Follow the prompts to give your bot a name (like “My OpenClaw (Clawdbot)”) and a unique username ending in bot (e.g., myclawdbot).
Once created, @botfather will give you a long alphanumeric token. Copy this exactly.
Switch back to the OpenClaw (Clawdbot) wizard running on your VPS and paste the token when asked.
Next, find @useridbot in Telegram and start a chat. It will instantly reply with your personal user ID. Copy that too and enter it into the wizard. This step is critical: it ensures only you can send commands to your bot, locking out strangers and keeping your automation private.
5: Give It an Identity
Once setup finishes, your bot comes alive in Telegram — and immediately starts a conversation with you. It asks four simple but essential questions to shape its behavior:
“What should I call you?”
Enter your preferred name — like “Alex” or “Team Lead.”
“What should you call me?”
Give your assistant a name that fits its role — maybe “Claw,” “OpsBot,” or “Helper.”
“What’s my purpose?”
Be specific: “Monitor server uptime and alert me on failures” or “Summarize daily logs and suggest optimizations.” This guides its responses.
“What timezone are you in?”
Type your IANA timezone, like `Europe/London` or `America/New_York`, so it handles time-based tasks correctly.
Answer each directly in the chat. No commands needed — just plain replies. These answers define your assistant’s personality, scope, and context. Once you’ve responded, OpenClaw (Clawdbot) saves your profile and is fully operational. You now have a private, self-hosted AI assistant ready to act on your behalf — no cloud middleman, no data leaks, just you and your bot.
Conclusion: How to Use OpenClaw (Clawdbot)
Now that OpenClaw (Clawdbot) is live, using it is as simple as sending a message in Telegram. Start with clear, direct commands like “Check if my website is up,” “Show me disk usage on the server,” or “Restart the nginx service.” It responds instantly — no buttons, no menus, just plain conversation.
You can ask it to monitor system resources, run scheduled scripts, fetch logs, or even notify you when a backup completes. Because it’s tied to your user ID, every interaction stays private and secure. Over time, it learns your workflow and adapts to your phrasing — without storing data in the cloud. Unlike generic chatbots, OpenClaw (Clawdbot) acts on your infrastructure in real time. It’s not just answering questions — it’s doing work for you. And since it runs on your VPS, you’re never at the mercy of rate limits, API changes, or third-party outages. This is automation you own, control, and scale — exactly as it should be.