If you're serious about building a fast, secure, and scalable website, installing WordPress on a VPS is the way to go. Unlike shared hosting, where resources are split among multiple users, a VPS (Virtual Private Server) gives you dedicated resources, better performance, and full control over your server environment.
In this guide, we’ll walk you through the entire process of setting up WordPress on an Ubuntu 22.04 VPS, from initial server setup to launching your site. You’ll learn how to configure your VPS, install the necessary software stack (like Apache, MySQL, and PHP), and finally get WordPress up and running. Whether you're a developer, blogger, or small business owner, mastering WordPress installation on a properly configured VPS will give you the flexibility and power needed for any modern web project.
Types of Virtualization and Why It Matters for WordPress
When choosing a VPS for your WordPress site, one of the most overlooked but important decisions is the type of virtualization used — KVM, OpenVZ, or LXC. Each has real-world implications for performance, security, and flexibility.
- KVM (Kernel-based Virtual Machine) offers full hardware-level virtualization. Each VPS runs in its own isolated environment with dedicated resources — making it ideal for WordPress sites that need consistent performance and rock-solid security. If you're running high-traffic blogs or e-commerce stores, KVM gives you the closest experience to a dedicated server.
- OpenVZ, on the other hand, uses container-based virtualization. While it’s cost-effective and easy to manage, all containers share the same kernel and OS resources. This can lead to performance issues if another user on the same host abuses resources — not the best choice for mission-critical WordPress sites.
- LXC (Linux Containers) improves on OpenVZ by offering better isolation and more control over resources. It’s lightweight and efficient, which makes it suitable for developers testing WordPress environments or managing smaller production sites.
Choosing the right virtualization matters because it affects how well your WordPress site performs under load, how secure it is, and how much control you have over the server. For most serious WordPress deployments, KVM is the gold standard — and it's worth paying a bit more for the peace of mind and performance it delivers.
Best Virtualization for WordPress
When it comes to running WordPress on a VPS, KVM (Kernel-based Virtual Machine) is widely regarded as the best virtualization option. Unlike container-based solutions like OpenVZ or LXC, KVM provides true hardware-level virtualization, giving your WordPress site its own isolated environment with dedicated resources. This level of isolation ensures that your website’s performance isn’t affected by other users on the same physical server — a common issue with less robust virtualization methods. KVM also allows full control over the operating system, kernel modules, and networking, which is crucial for advanced WordPress optimization, custom server configurations, and enhanced security.
For serious WordPress deployments — especially those expecting high traffic, e-commerce functionality, or custom integrations — KVM VPS offers the stability, scalability, and reliability needed to keep your site fast and secure. While it may come at a slightly higher cost, the benefits make KVM the gold standard for WordPress hosting environments.
Step-by-Step Guide to Installing WordPress on a VPS
Installing WordPress on a VPS gives you full control over your environment — whether you're doing it manually via SSH or using a control panel like cPanel or Plesk. Here's an overview of the main steps.
Step 1: Prepare Your VPS Server
Before diving into WordPress installation, you’ll need to set up your VPS environment. In this guide, we’ll walk through the process using Ubuntu 22.04, a solid and widely-used Linux OS favored for web hosting. We’ll be working with the VPS1 plan from VPS.one — a reliable and affordable entry-level option for hosting WordPress sites. When you order your VPS, you can choose your preferred Linux distribution right at checkout. The OS is installed automatically.
Once your server is ready, login credentials will be sent to your email. These include your SSH access details , which you’ll use to securely connect to your server and start configuring your environment. With your VPS set up and SSH access in hand, you’re ready to move on to installing the necessary software stack for WordPress.
Step 2: Connect to the Server via SSH
To access your VPS, open a terminal (or use an SSH client like PuTTY) and enter:

Log in using your password or set up SSH keys for a more secure connection. Once authenticated, you’ll have full command-line access to your server — ready to install WordPress and configure your environment.
Step 3: Install the Software You Need to Run WordPress
Now that your server is ready for action, it's time to install the core software stack needed to run WordPress — commonly known as the LAMP (Linux, Apache, MySQL, PHP) or LEMP (with NGINX) stack.
Let’s get started:
-
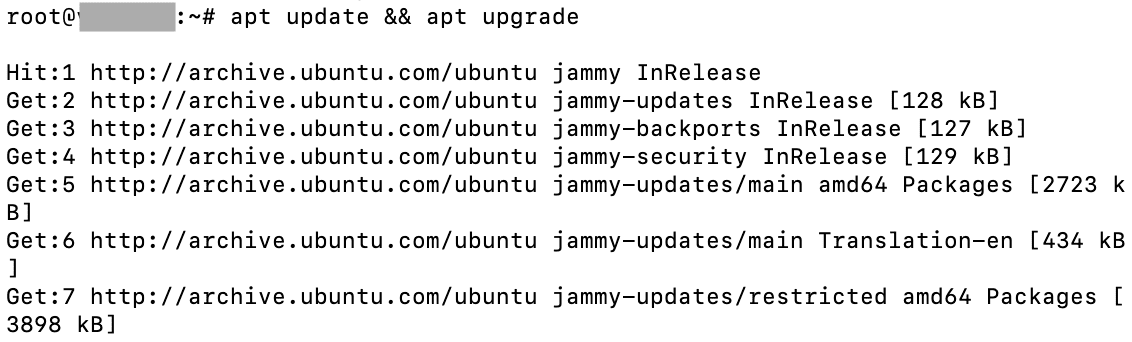
Update your system packages:

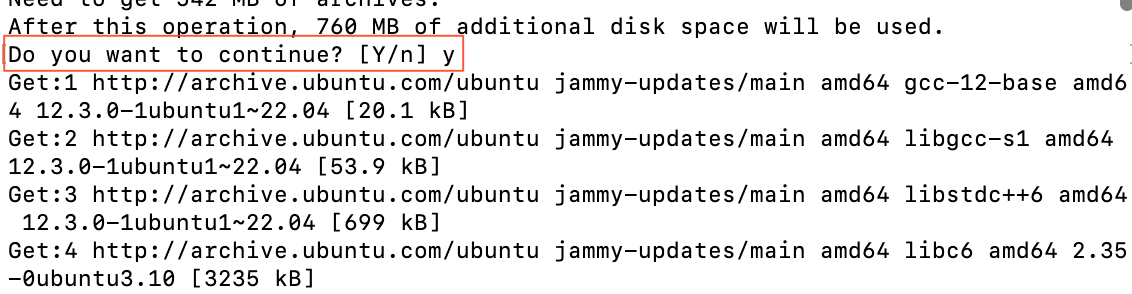
If prompted, press “Y” to continue:
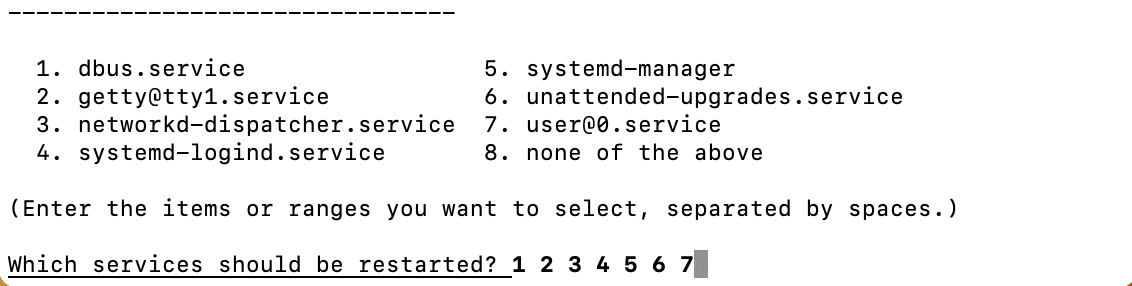
Restart the services:
-
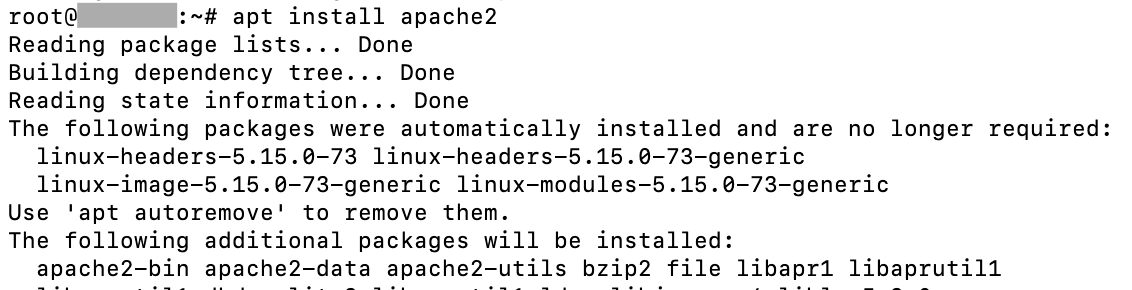
Install Apache web server:
Once installed, verify Apache is running with:
-
Install MariaDB (a drop-in replacement for MySQL):
-
Install PHP and the MySQL extension for WordPress compatibility:
-
Install Vim:
-
Restart Apache to apply changes:
-
Create a test file to confirm PHP works correctly:
Add this content:
Save and exit (type :wq and press Enter.).
-
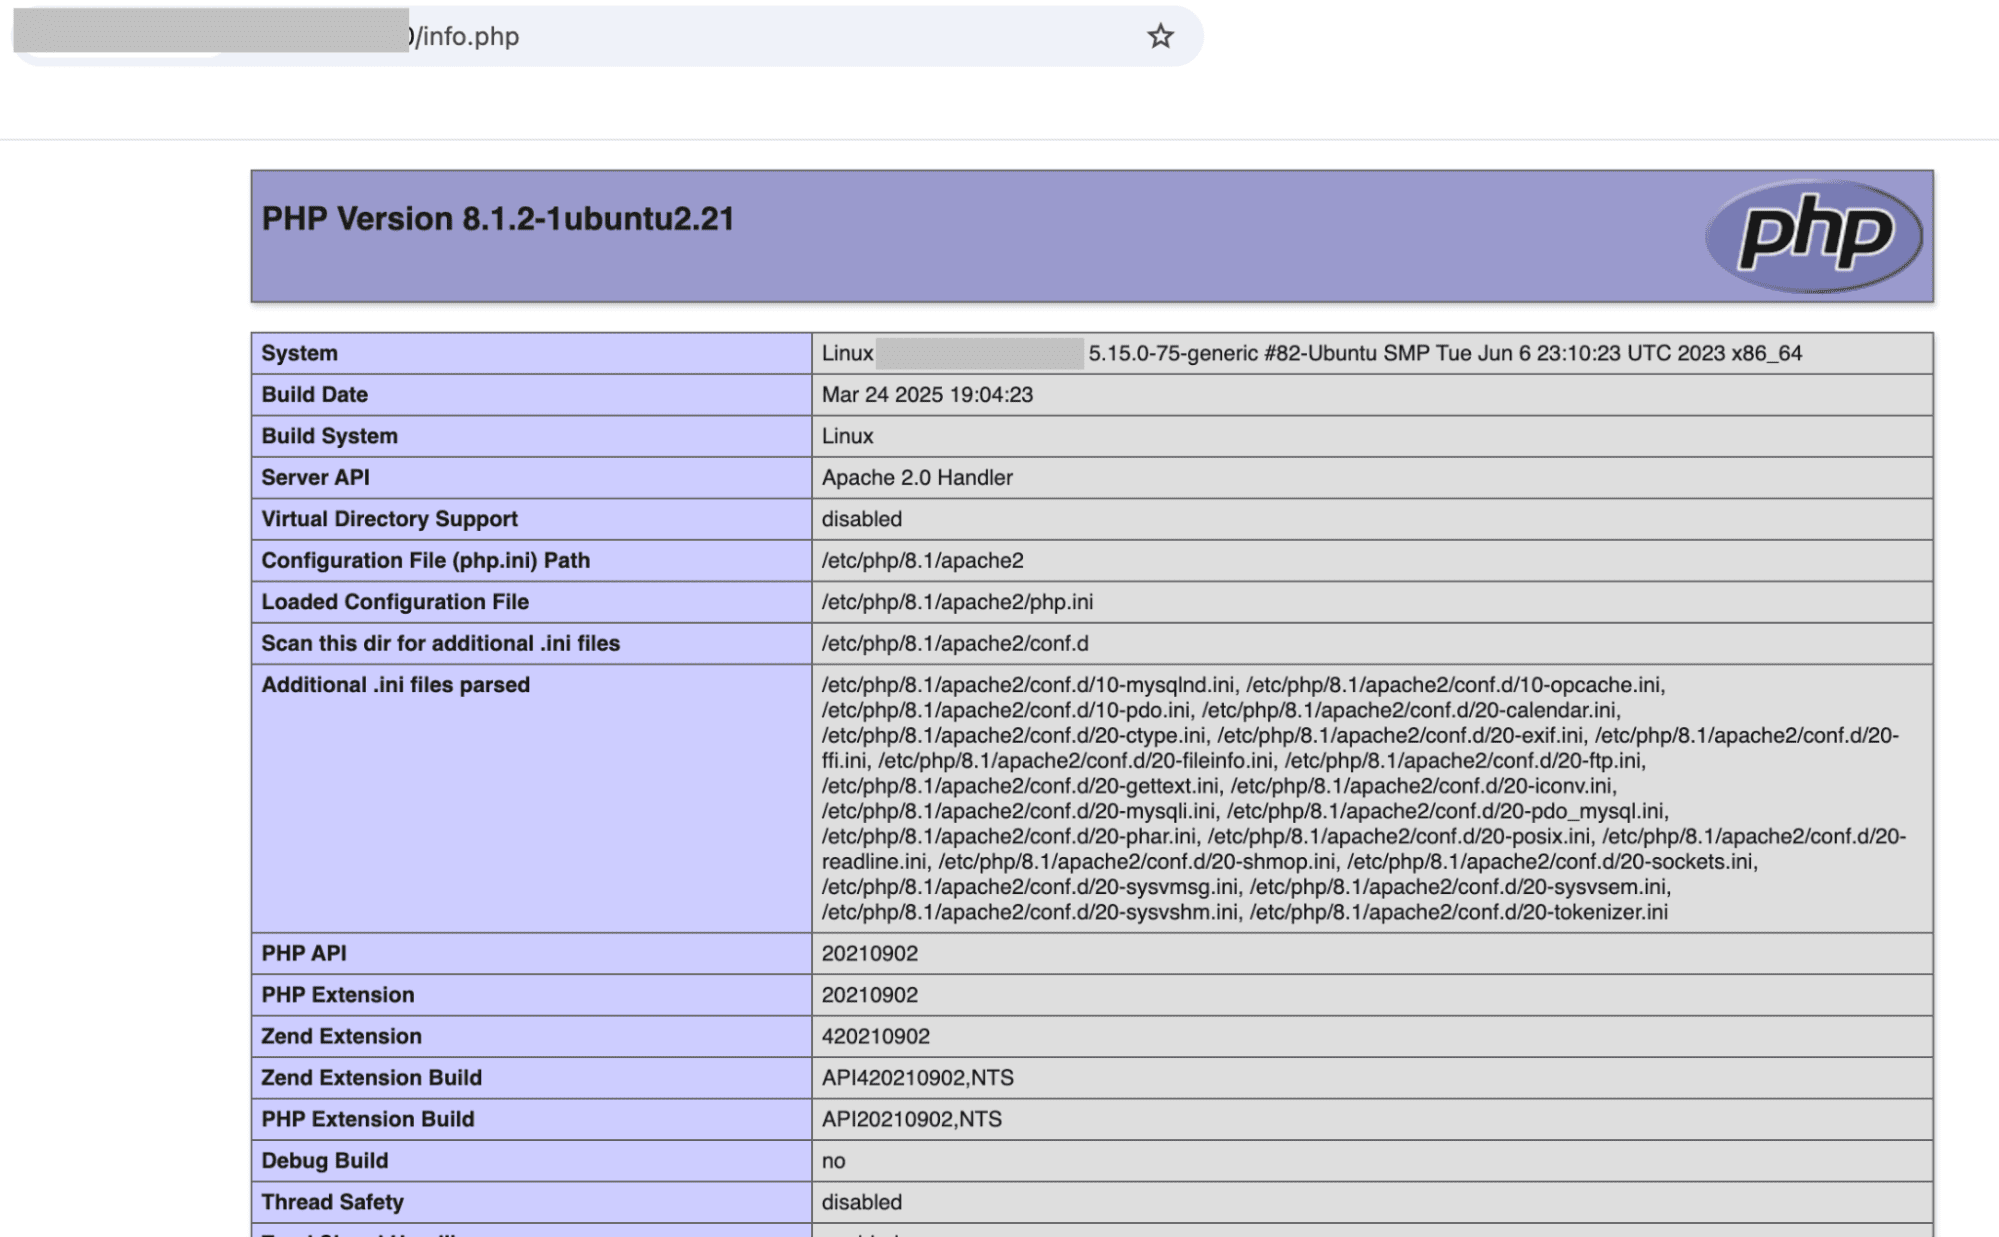
Check in your browser. Open your browser and navigate to: http://your_server_ip/info.php, where your_server_ip is your server address. You should see the PHP information page — which means you've successfully installed the LAMP/LEMP stack!


Step 4: Create a New Database
Before installing WordPress, you need to set up a dedicated MySQL or MariaDB database and a user with the right permissions. Here’s how:
-
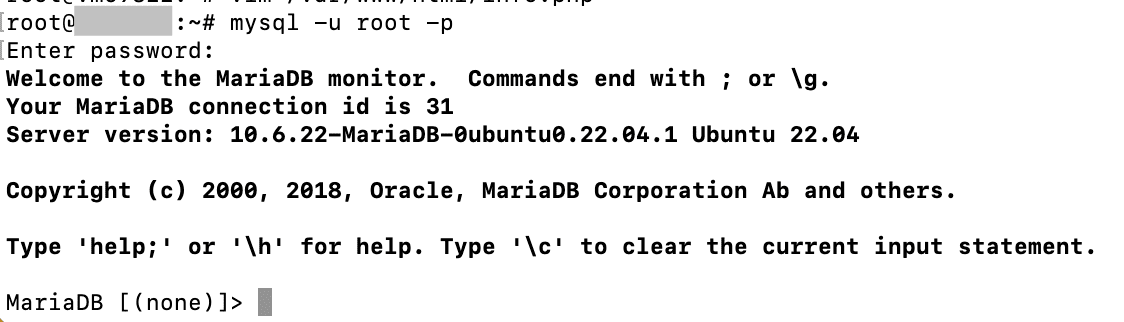
Log in to MySQL/MariaDB as root:
-
Create a new database for WordPress:
-
Create a new user and set a password (you can choose any username and password you prefer — just make sure they’re secure and easy for you to remember):
-
Grant the user full access to the database (this gives your WordPress user full control over the database without affecting other databases on your server).
-
Apply the changes and exit:


You’re now ready to move on to the next step: downloading and configuring WordPress itself.
Step 5: Download and Configure WordPress
Now that your server is set up with a working LAMP or LEMP stack and a dedicated database, it’s time to download and configure WordPress. Let’s walk through the steps:
-
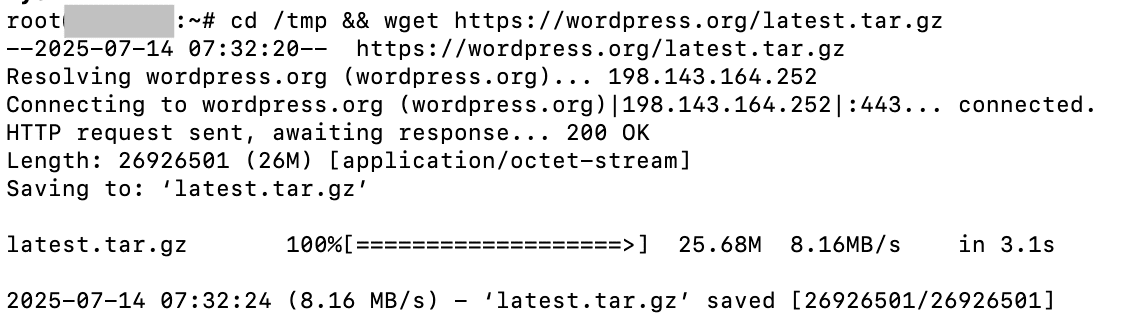
Download the latest version of WordPress:
-
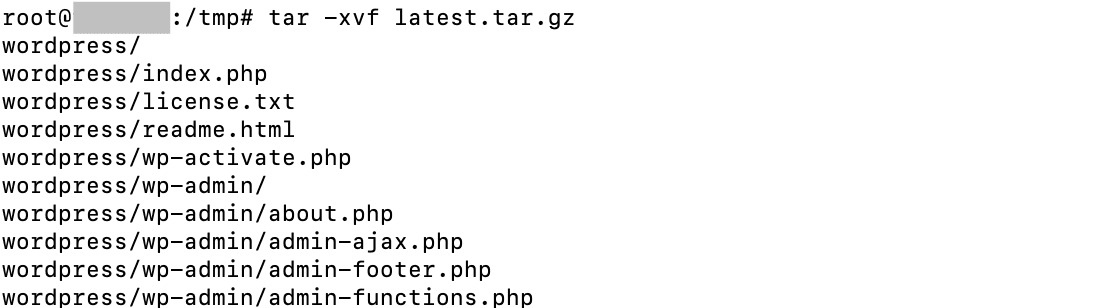
Extract the archive (this creates a folder named wordpress):
-
Move WordPress to your web root directory:
-
Set proper ownership and permissions:
-
Create the uploads directory for media files:
-
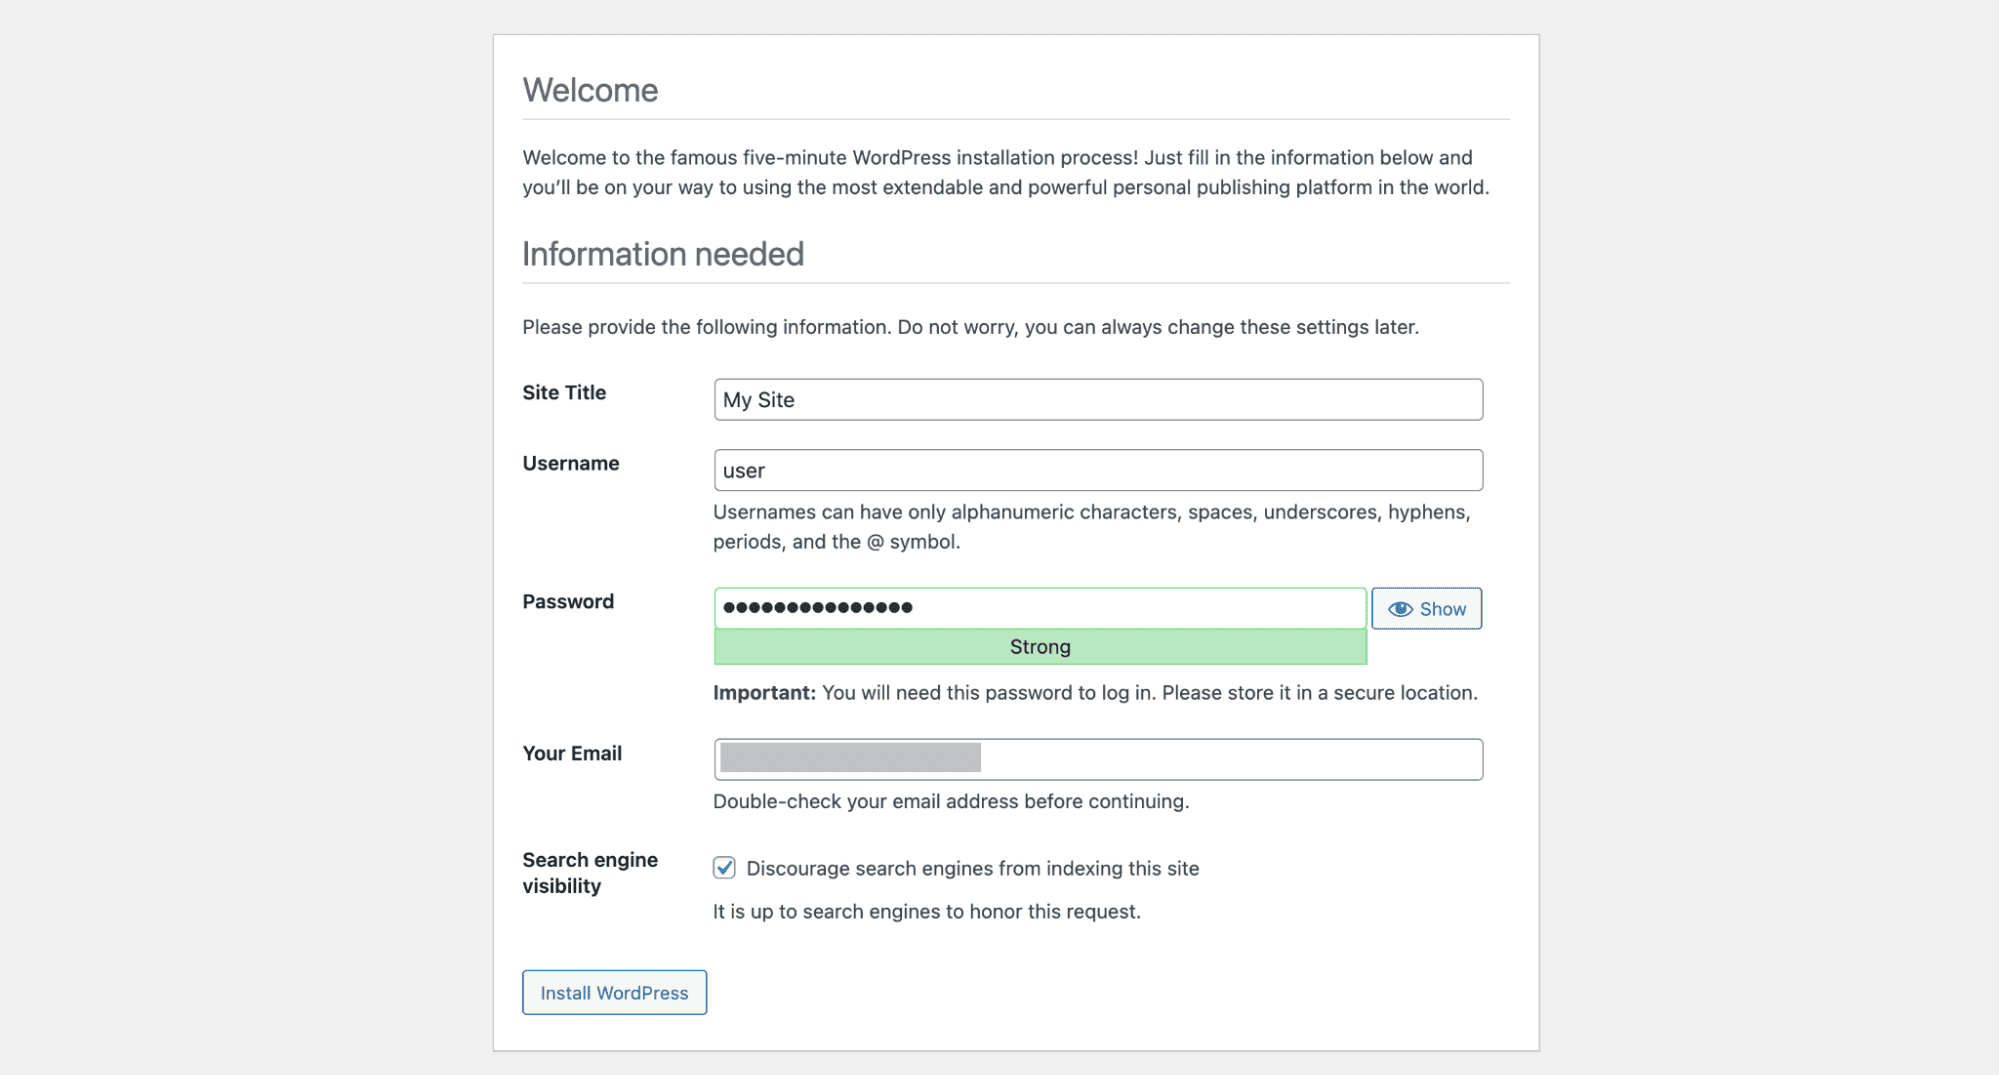
Open your browser and start the installation: http://your-server-ip/wordpress. You’ll see the WordPress setup wizard. Fill in the required details using the database name, user, and password you created earlier (e.g., wordpress_db, wp_user, and your chosen password). Leave the database host as localhost and table prefix as-is unless you have a reason to change it.
-
After submitting the form, WordPress will connect to your database. If everything is correct, click “Run the installation” and provide your site title, admin username, password, and email.
-
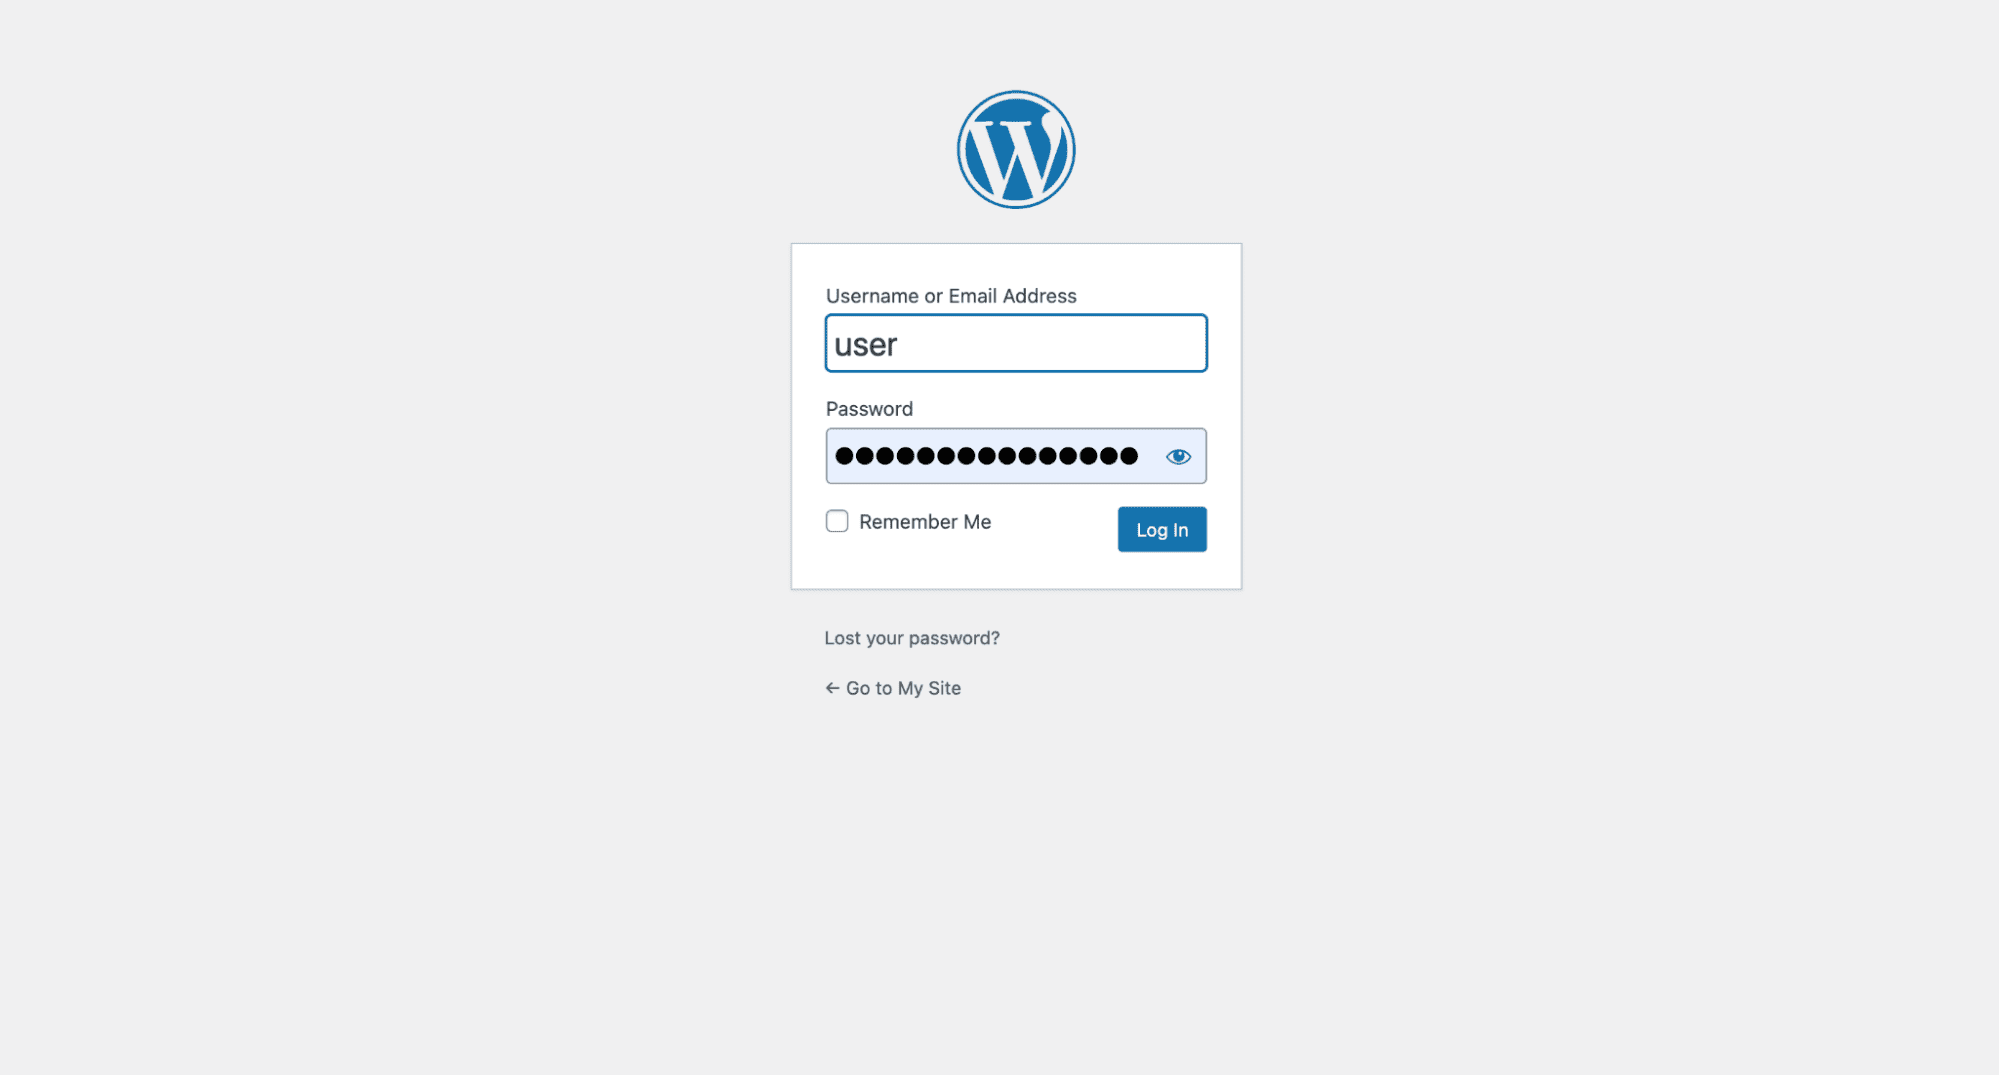
Log in to your new WordPress dashboard and start building:


That’s it — WordPress is now installed and ready to go!
Frequently Asked Questions (FAQ)
How long does it take to install WordPress?
Manually installing WordPress typically takes 15–30 minutes, depending on your experience and server setup. This includes installing the LAMP/LEMP stack, configuring the database, and running the WordPress installer. However, if you're using a hosting control panel, the process can be reduced to just a few minutes — sometimes even under 5. So, while a manual install gives you more control, auto-installers offer speed and simplicity, especially for beginners.
Which VPS plan should I choose for WordPress?
For a single WordPress site, a basic VPS plan. This setup offers better performance and control than shared hosting. If you're running multiple sites, an online store, or expect high traffic, opt for a higher-tier VPS plan with more RAM, CPU power, and scalable storage. Always choose a provider with solid uptime, good support, and SSD-backed infrastructure for optimal WordPress performance.
Is WordPress suitable for an online store?
Yes, WordPress is a solid choice for building an online store, especially with plugins like WooCommerce . It offers flexibility, scalability, and a wide range of themes and extensions tailored for e-commerce. While it may require more setup than platforms like Shopify, WordPress gives you full control over design, functionality, and hosting — making it ideal for custom online stores that need room to grow.
Conclusion
Setting up WordPress on a VPS gives you the power, performance, and flexibility that shared hosting simply can’t match. While the installation process requires a bit more technical know-how, the benefits — better speed, scalability, and full server control — make it well worth the effort.
Now that your WordPress site is live, consider the next steps: optimize performance with caching plugins or a CDN, secure your site with SSL and strong passwords, and start building valuable content. With a solid VPS foundation in place, your WordPress site is ready to grow — whether it’s a personal blog, business site, or full-scale online store. Take control of your web presence — and keep learning, improving, and expanding.